News Manager
From Wiki
News Manager
News Manager is used to send out individual e-mails to publishers relevant to a particular programme, whether these are approved, rejected or suspended. This is particularly useful when sending out specific offers and promotions as well as updates to the programme such as commission changes or updates to terms and conditions.
It enables a more direct and personal message to be delivered to the relevant publishers.
To send a message via News Manager:
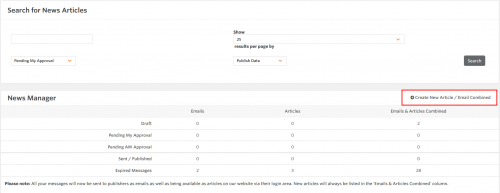
On the navigation menu, go to Toolbox and click on ‘News Manager’
Then click on ‘Create New Article / Email Combined’
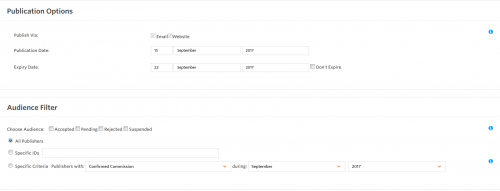
You can then select your audience and date range
Tick the box that applies to your target audience (accepted, suspended etc) and then which of those you want it to be sent to. Eg for all publishers on the programme tick the “accepted” box and then the “all publishers” radio button.
You can send an email to a specific publisher (s) by selecting the “specific ID” radio button and entering the ID(s) of the publisher (s).
The publication date option sets the life of the email and simply means that, should a publisher join the programme after the email is sent, they will still receive a copy of it until the expiry date.
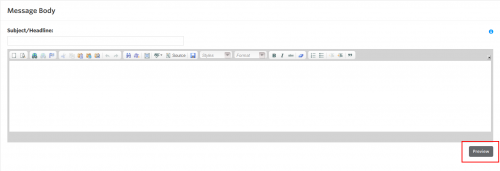
Once these parameters have been set you can enter a title and copy for the email in the appropriate fields. You can enter text directly into the box, and if you wish, html within the “source” section:
If you have an email/newsletter you already send to your email database for example, you can simply paste this in and send to publishers.
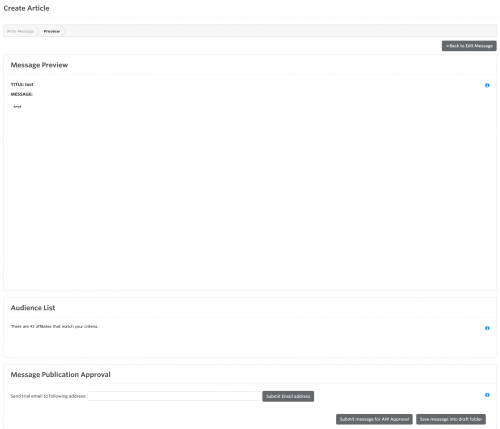
You can then preview what your e-mail will look like when it has been seen by pressing preview:
If you are happy with how your e-mail looks at this stage, you can either enter your e-mail to receive a test or submit for approval:
Once submitted, it will be sent to us pending approval and then sent out to the chosen audience.
Adding images to News Manager
• Go into News Manager as explained above
• Either directly copy and paste the image into the message body or enter using the source button:
Press source and you will see the html code – look for line breaks like this:
• Within these line breaks you will need to place the image address within this code: <img src=””>
• So it appears like this - <img src=”https://images.awin.com/common/aw_logo.gif”>
• This will then need to be placed between two of these
When you click source again you should return to see the e-mail, along with the image:
Staff:Images
Select Source and enter the image URL with code at the ends.
<img src="http://cache.carlsonhotels.com/rad/edw/home/Radisson-Blu-Edwardian-logo.jpg" />
Click on ‘Source’ again and it should look like the image below.
You can also change the text colour and format under the Styles and Format drop down boxes.
Alternatively if you have created an html post for the hub you can copy that source code and paste it within ‘Source’ and it will carry all the images and text over. The title allows 50 characters.


